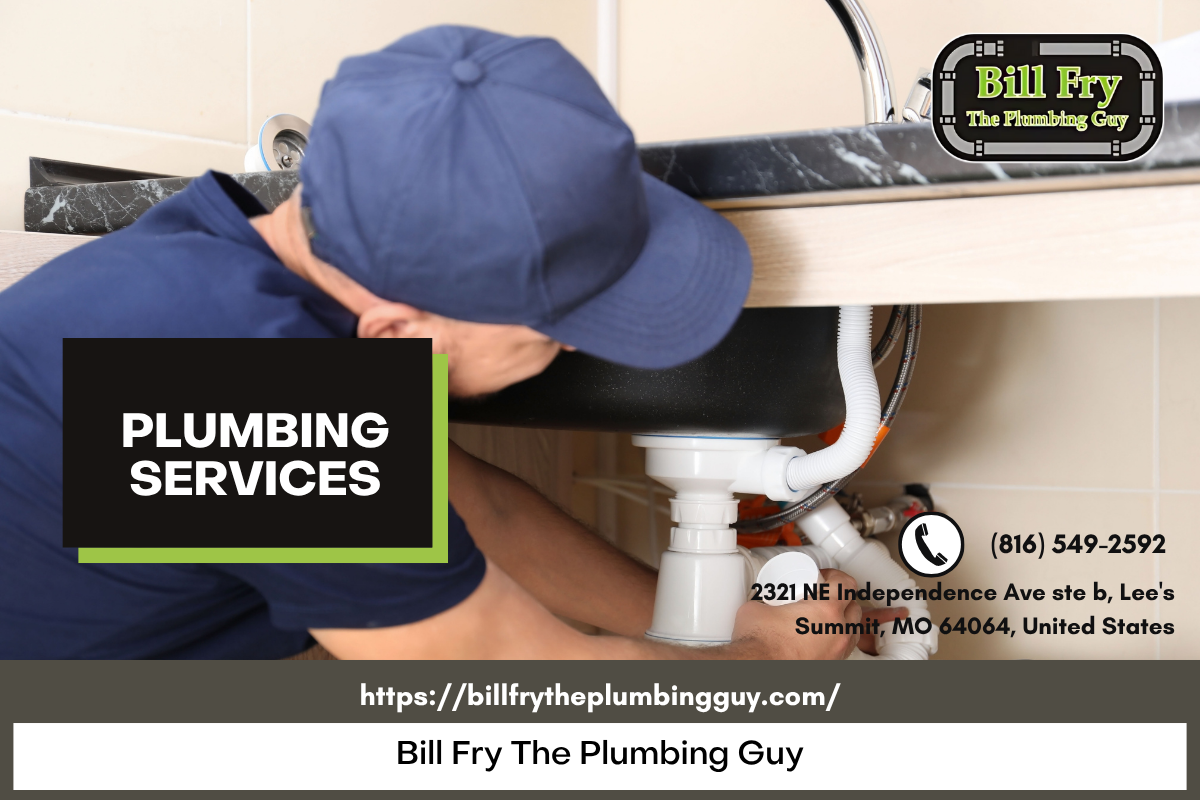
A running toilet sounds minor until you get the water bill. The steady hiss or intermittent fill cycle can waste hundreds of gallons in a day, erode fixtures, stain bowls, and invite mold under the tank lid. Around Lee’s Summit, where many homes blend mid-century builds with newer subdivisions, we see the same handful of culprits again and again. The good news: most fixes are straightforward if you know what to look for, and parts rarely cost more than a family dinner out. The bad news: ignoring it is like leaving a garden hose half-open all night, every night.
This guide walks through why toilets run, how to diagnose quickly, what you can fix yourself without drama, and when it’s time to call a pro. Along the way, I’ll point out brand quirks, water-quality issues specific to our area, and the little details licensed plumbers pay attention to that most folks overlook.
What a “running” toilet actually means
People describe three patterns. The tank slowly leaks into the bowl and the fill valve kicks on every few minutes to top off. The flush never seems to end, with water constantly moving and the bowl never fully quiet. Or, after a flush, the tank refills normally but the valve keeps hissing and occasionally spurts water into the overflow tube. Different patterns point to different components. Think of the toilet as a simple hydraulic machine: a seal at the bottom (the flapper or flush valve) holds water; a control valve at the side (the fill valve) refills to a set level; an overflow tube prevents flooding by dumping excess into the bowl; and a float tells the fill valve when to stop. When any of those is out of adjustment or worn, water escapes and the valve keeps working.
The usual suspects inside the tank
Wear and water chemistry take their toll even on robust parts. In the Kansas City metro, including Lee’s Summit, the water tends to be moderately hard. Hardness deposits coat moving parts, stiffen rubber, and roughen sealing surfaces. Add tank cleaning tablets that bleach rubber into brittleness, and you have a recipe for seepage. Here are the common failure points we see in everyday plumbing service calls.
Flapper troubles. The flapper is that rubber or silicone seal at the bottom of the tank. It lifts when you flush, then drops onto the flush valve seat to hold water until the next flush. Over time, flappers warp, crack, or get slimy with biofilm and minerals. A deformed flapper won’t sit flat and allows a trickle into the bowl. The telltale sign is water movement at the bowl’s rim even when no one has flushed, and a periodic refill cycle every few minutes. If your tank uses a canister flush rather than a traditional hinged flapper, the seal at the canister’s bottom ring does the same job and suffers similar wear.
Faulty fill valve. The fill valve is the tall assembly on the left side of the tank. It senses the water level via a float and opens or closes accordingly. When its internal diaphragm wears or debris scores the seat, it doesn’t seal tight. The result is a constant hiss after the tank is full, sometimes with visible water trickling into the overflow tube. Old ballcock-style valves with a float arm are especially prone to misadjustment, while newer compact valves are more reliable but still fail after years of sand, grit, and calcium.
Chain and handle issues. An overly short chain between the handle lever and the flapper can hold the flapper slightly open. A corroded or sticky handle can also keep the lever from falling back to rest. This is a cheap problem to fix and surprisingly common. If your tank has a sculpted interior, the chain can snag on baffles. A simple plastic clip to guide the chain can prevent hang-ups.
Overflow level set too high. If the water level is set even a quarter inch above the overflow tube’s lip, the tank constantly bleeds water into the tube and the fill valve never truly shuts off. You’ll see a steady stream down the tube. It’s typically an adjustment issue, not a part failure.
Cracked or pitted flush valve seat. Even with a new flapper, an old flush valve seat can be the problem. Mineral build-up or a small nick in that seat lets water pass. You can feel it by running a finger around the seat edge when the tank is drained. If you notice roughness or grooves, the seal will never be perfect until that seat is cleaned or replaced.
Fill tube incorrectly placed. The small refill tube that feeds the overflow is supposed to clip to the overflow tube and direct a small stream into it, not down into the tank. If that tube sits too low and siphons water, it can pull water from the tank back into the overflow after the fill valve shuts, restarting the cycle.
Quick checks you can do in five minutes
Before you buy parts or call local plumbers, gather a couple of simple observations. They will save you time and help any licensed plumbers who show up at your door diagnose faster.
Lift the tank lid and just watch for one minute. Is water flowing into the overflow tube? Is the fill valve hissing? Is the flapper chain taut? If you gently press the flapper down with a stick and the hissing stops, you know the flapper isn’t sealing. If the hissing continues, the fill valve likely isn’t closing.
Use the food dye test. Add a few drops of dark food coloring to the tank and wait 10 to 15 minutes without flushing. If color seeps into the bowl, the flapper or flush valve seat is leaking. If the bowl stays clear but you hear the valve kick on occasionally, look at the fill valve or overflow adjustment.
Check the water level against the overflow. The water should sit about an inch below the top of the overflow tube. If it’s at the lip or spilling over, adjust the float. On most modern valves, a small screw on top moves the float up or https://zenwriting.net/carmaiwqqa/affordable-plumbers-lees-summit-avoiding-overtime-charges down. On older ball floats, bend the rod gently downward to lower the water level.
Jiggle the handle and watch the chain. If the flapper doesn’t fully drop after you let go, shorten or lengthen the chain so there’s a little slack when the flapper is down. Make sure the chain drops straight and isn’t catching on anything.
Glance at the refill tube. The little tube should clip to the overflow with its tip above the rim, not dangling inside the tube below the waterline. If it sits too deep, it can siphon.
What typically fixes it, plus brand quirks that matter
Most running toilets stop with a new flapper or a fill valve adjustment. But not all parts are interchangeable, and mismatches cause new headaches. We see this regularly on service calls around Lee’s Summit when a homeowner tried a universal part that sort of fit but never really sealed.
Match the flapper to the flush valve type. Standard two-inch flappers are common, but many newer high-efficiency toilets use three-inch openings. The difference is obvious when you look: a wide throat needs a larger flapper. Some brands, like Kohler canister models, use a flat rubber seal ring instead of a hinged flapper. Toto often prefers brand-specific flappers with a calibrated float or weight that affects timing. If you swap in a generic part, the flush can be weak or the seal imperfect. Bring the old part to the store or note the toilet’s make and model stamped inside the tank.
Choose the right fill valve. Modern fill valves are mostly universal as long as height and shank size match, but it pays to buy a quality valve with a replaceable diaphragm seal. Adjustability matters, too. If your toilet is in a basement bathroom with a low tank, you need a valve that can be set short enough to fit. If your water pressure is high, look for a valve with built-in pressure regulation to reduce noise and water hammer.
Replace the flush valve seat when the rim is pitted. Flapper after flapper won’t seal against a rough seat. A new flush valve kit includes the seat and gasket that seals to the tank. It’s a tank-off job, which is still within reach for a careful homeowner, but mind the risk: porcelain cracks if bolts are over-tightened. Many affordable plumbers in Lee’s Summit can replace a flush valve in roughly an hour plus parts.
Watch out for drop-in tank tablets. Those blue tablets shorten flapper life by months. If you must use bowl cleaners, choose the kind you apply in the bowl rather than the tank. I’ve replaced flappers that hardened in under a year because of tablets and high chlorine levels.
The soft costs of waiting too long
A running toilet can burn through 200 to 1,000 gallons per day depending on severity. If you pay typical Lee’s Summit water and sewer rates, that can add $30 to $100 or more to a single monthly bill. Beyond water waste, constant fill can mask leaks at the tank-to-bowl bolts, saturate the floor around the flange, and loosen wax seals. We’ve been called to homes where a simple flapper leak evolved into a spongy subfloor and a rocking toilet. Catch problems early and you avoid cascading repairs.
Step-by-step: the safe way to swap a flapper
Here’s a tight, no-drama approach that mirrors how licensed plumbers handle it when speed matters and the stakes are low.
- Shut off the supply valve under the tank, flush to empty, and sponge out remaining water around the flapper seat so it’s dry and clean. Unhook the old flapper and chain, then clean the flush valve seat with a nylon scrubber. Avoid anything abrasive that might gouge the rim. Install the new flapper sized for your valve opening, leaving a tiny slack in the chain so the flapper seats freely but still lifts fully when you press the handle. Turn water back on, let the tank fill, add food dye, wait a few minutes, and confirm no color bleeds into the bowl. Adjust chain if needed. Set the water level about an inch below the overflow top using the float adjustment; make sure the refill tube clips above the rim, not down inside.
When the fill valve is the villain
If you still hear hissing from the fill valve after the tank level stabilizes below the overflow rim, the valve likely isn’t sealing. You can attempt a quick flush of the valve by turning off the supply, holding a cup over the open top of the valve, and briefly turning the supply on to blast debris out. If that doesn’t fix it, replace the valve. It’s usually a 20 to 30 minute job.
Measure the tank height so you buy a valve that can adjust to your tank. Keep a towel handy because a bit of water will spill when you remove the old valve. Most new valves include a new refill tube and clip; use them. Tighten the bottom nut hand-snug plus a small wrench nudge. Overtightening can crack the tank, a costly mistake. Once installed, refill, set the float height, and listen. A properly working valve should go quiet as soon as the water reaches its set level.
Edge cases that trip up even careful DIYers
High water pressure. Some homes in Lee’s Summit sit on streets with pressure that spikes over 80 psi at night. That can cause fill valves to howl or chatter and wear out seals quickly. If faucets elsewhere bang or thunk closed, ask a plumber to check static pressure. A simple pressure-reducing valve at the main can tame the entire house and extend fixture life.
Well water or sediment. Outside of city limits, a well with fine sediment will chew through toilet seals. Installing a whole-house sediment filter upstream of the fixtures solves recurring valve failures. If you notice sandy grit when you drain the tank, filtration is overdue.
Dual-flush mechanisms. Many dual-flush toilets rely on proprietary towers and gaskets. It’s tempting to retrofit universal parts, but that can make water usage worse or lead to endless running. Order the correct OEM seal or tower kit by model, even if it costs a bit more. Your water bill will thank you.
Tank micro-cracks. Rare but real. Porcelain hairline cracks near bolt holes or the fill shank can create slow seepage that triggers frequent topping-off. Dry the tank exterior, set a dry tissue around suspect areas, and watch for moisture wicking. Replacing gaskets helps if the crack doesn’t pass through, but a through-crack usually means a new tank or toilet.
Siphoning from the refill tube. If the refill tube tip dips below the overflow rim, it can siphon water once the fill valve shuts, slowly draining the tank until the valve opens again. Keeping that tube clipped high and not submerged breaks the siphon.
When it’s worth calling a pro
If a flapper swap and basic adjustments don’t stop the running, it’s time to consider professional help. A flush valve replacement, tank-to-bowl bolt kit, or a stubborn leak around the fill shank can be done by a patient homeowner, but the margin for cracking porcelain or overtightening metal on ceramic is slim. Licensed plumbers bring torque sense from thousands of installs. They also carry the less common parts that big-box stores don’t stock, especially for older or brand-specific models.
Lee’s Summit plumbers deal with these calls daily. A typical visit may include replacing the fill valve, the flapper, and the tank bolts as a set. Expect the work to take 45 to 90 minutes, depending on rust and accessibility. If your toilet is older than 20 years, a plumber might recommend a full rebuild kit or even a replacement fixture, especially if the porcelain is crazed or the bowl clogs often. Newer high-efficiency toilets flush better with less water when properly matched to your drain line.
If you’re searching for a plumber near me, look for licensed plumbers who mention transparent pricing and who stock common repair kits on their trucks. Local plumbers familiar with plumbing services in Lee’s Summit understand our water chemistry, the common builder-grade fixtures in area neighborhoods, and the code requirements for shutoff valve accessibility and backflow prevention. Reputable, affordable plumbers won’t push a replacement when a simple repair will do, and they’ll stand behind the work. If you prefer to keep it hyper-local, searching plumber near me Lee’s Summit or Lees Summit plumbers will surface specialists who work this territory daily. Many offer same-day plumbing service for leaks and running toilets.
Costs, parts, and practical numbers
For a standard two-piece toilet, retail prices for quality parts look like this in our area: a flapper runs about $6 to $20; a decent fill valve is $15 to $40; a full flush valve kit with tank-to-bowl gasket and bolts ranges from $20 to $45. If hard water has chewed up multiple parts, it makes sense to replace the fill valve and flapper together. Labor for a licensed plumber in Lee’s Summit typically ranges in a reasonable band for small plumbing services. The variance comes from how seized the old bolts are, whether the shutoff valve under the tank is functional, and whether the toilet brand needs specialty parts.
One practical note: if your shutoff valve is stuck or leaks when you touch it, stop and call a pro. Replacing a stuck angle stop often involves torch work or careful compression fitting work, and a small drip can turn into a soaked baseboard. We get calls where a homeowner intended a five-minute flapper swap and ended up with a bucket brigade because the old valve wouldn’t close.
Water quality and maintenance habits that prevent repeat problems
Hardness and chlorine are the twin enemies of rubber and seals. If your home doesn’t have a water softener and you notice crust on faucets, plan to check toilet internals every year. Lift the tank lid and look for flaky deposits on the fill valve and around the flapper seat. A quick wipe with white vinegar on a cloth will dissolve surface scale. Avoid drop-in tank tablets and instead clean the bowl with liquid cleaners applied directly. If odors or microbial growth in the tank concern you, a periodic tank cleaning with a diluted vinegar solution is safer for parts than bleach-heavy tablets.
If you’ve had to replace more than one fill valve in a short span, consider a valve designed for high-chlorine environments and ensure the refill tube is properly clipped. Some higher-end valves let you swap out just the internal seal, which is a five-minute, low-cost maintenance job.
What experienced plumbers look for that others miss
On a service call, a licensed plumber doesn’t just stop the hiss. We check the shutoff valve function, supply line condition, tank-to-bowl connections, and the floor stability around the base. A slow, long-term run can mean hidden seepage elsewhere. We also check water level calibration against the manufacturer’s mark. More water in the tank doesn’t equal a better flush; it just wastes water through the overflow. Correct level, correct flapper timing, and a clear refill path give you a strong siphon and a quiet stop.
Another pro move: confirming the overflow height relative to the handle hole. Codes require a safe margin so that, if the valve fails open, water goes into the bowl rather than back through the handle opening. If a previous repair left the overflow too low or the waterline too high, it’s a quick adjustment that prevents an over-the-rim event.
Should you replace the toilet instead?
If you’re facing multiple tank repairs on a toilet that predates the 1990s or has a hairline in the tank, a replacement may cost less over five years. Modern 1.28 gpf toilets outperform many older 1.6 gpf models, and the parts ecosystem is better. A straightforward replacement by affordable plumbers in Lee’s Summit is often a half-day job including haul-away. If your bathroom has space constraints or you prefer a specific height, measure from the wall to the bolt caps for rough-in size, confirm the footprint to cover any old flooring scars, and bring that info to your plumber. Licensed plumbers in Lee’s Summit can recommend models that pair well with your drain run and vent.
A simple decision tree you can trust
If the toilet runs intermittently and food dye shows up in the bowl, change the flapper and inspect the seat. If the valve hisses constantly and water level is under the overflow rim, clean or replace the fill valve. If the water spills into the overflow, lower the float. If a new flapper still leaks, look at the flush valve seat for pits or nicks and consider a tank-off replacement. If you hit rusted bolts, a frozen shutoff, or a cracked tank, pause and call a plumber near me who handles plumbing services Lee’s Summit frequently. When in doubt, a short visit from licensed plumbers saves hours of frustration and the risk of breaking porcelain.
The local angle: why Lee’s Summit experience helps
Neighborhoods like Raintree Lake, Lakewood, and Winterset feature a mix of builder-grade fixtures from different decades. A plumber who works those streets regularly will know which homes tend to have Mansfield flush valves or Kohler canisters and will stock the right seals. That familiarity shortens appointments and keeps costs down. If you’re vetting affordable plumbers Lee’s Summit residents recommend, ask if they carry common OEM flappers and canister seals. It’s a small question that signals whether they’re prepared for the specific brands in your area.
For homeowners comparing options, browse reviews that mention punctuality, clear communication, and lasting fixes rather than just speed. Quality plumbing service is measured a month later when the toilet is still quiet and the water bill looks normal.
Final takeaways
A running toilet isn’t a mystery. It’s a signal from one of four places: the flapper and seat, the fill valve, the overflow setting, or the chain and handle. Most can be fixed quickly with the right parts and a light touch on the wrenches. The dye test points to the flapper. The hiss points to the fill valve. The spill into the overflow points to float adjustment. If you reach the limit of your patience or tools, Lees Summit plumbers see this every day and can wrap it up cleanly.
When you search plumber near me Lee’s Summit, look for licensed plumbers Lee’s Summit residents trust, not just the first ad. A good local partner will handle the immediate repair, check the surrounding parts, and leave you with a quiet tank and a lower bill. And if you want to stretch the time between repairs, skip tank tablets, check levels annually, and give the inside of the tank a quick look whenever you clean the bathroom. Small habits, big savings.